


The dough is sticky - it will not completely pull away from the sides...just trust me. Follow the recipe exactly. Do not experiment here.
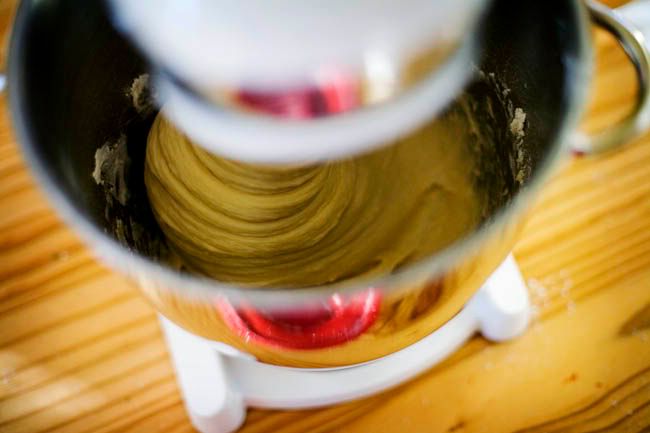
This is how gooey it will look after its mixed for 10 minutes.
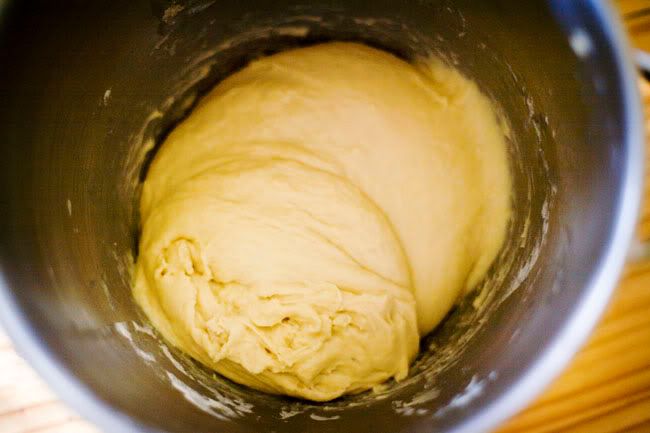
Let it sit for 10minutes (yes that's all you need.) Cover the bowl with a towel. It should look like this.
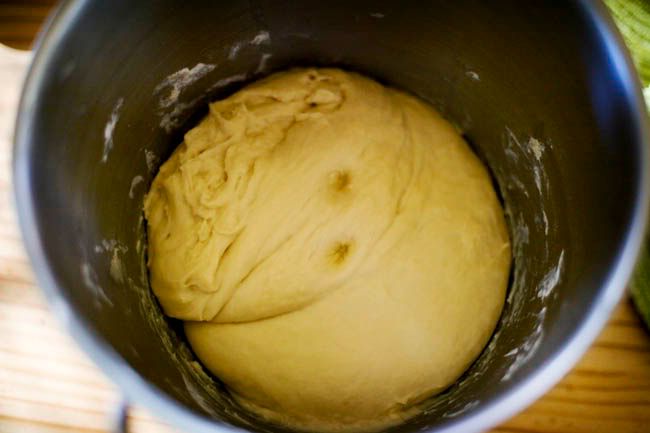
NOW...you may add a little flour. I threw a bunch of flour on the table and covered my hands with it. I pulled half the dough out and worked the flour into it.
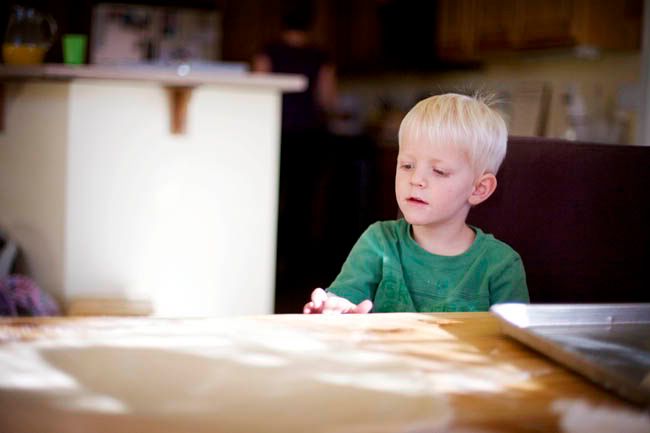
 Watch out for these guys...they like to eat the dough...put dirt on the dough...and paint the table with melted butter.
 Roll the dough out...thicker for big rolls...thinner if you have lots of little kids who will only eat half of their precious mouth-watering roll.
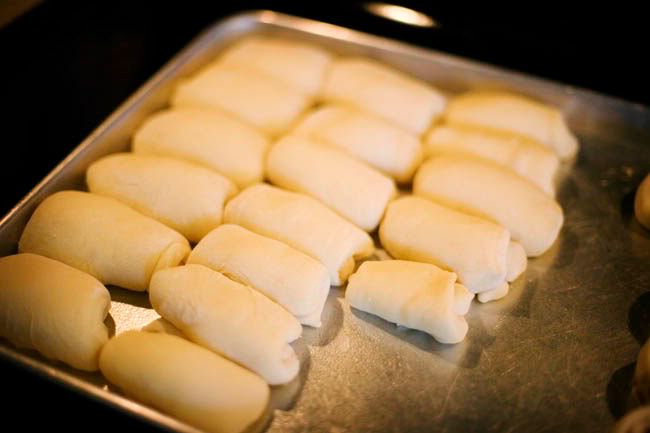
 Here's the part I skipped. I use a circle biscuit-type cutter (you could use a cup). Cut a circle and fold one-half in and then the other...Lay the roll seam-side down. Here's how the look after sitting covered for 20 minutes.
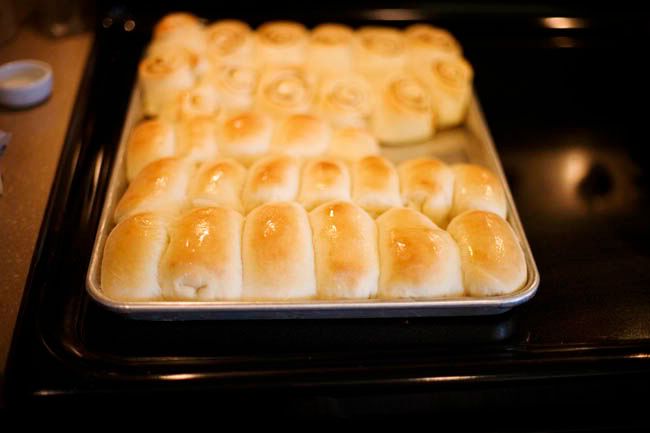
 And after 16minutes of baking, take a stick of butter and run it over the tops of 'em (the girls talked me into doing some cinnamon rolls...yes they were killer.)
Watch out for these guys...they like to eat the dough...put dirt on the dough...and paint the table with melted butter. Roll the dough out...thicker for big rolls...thinner if you have lots of little kids who will only eat half of their precious mouth-watering roll. Here's the part I skipped. I use a circle biscuit-type cutter (you could use a cup). Cut a circle and fold one-half in and then the other...Lay the roll seam-side down. Here's how the look after sitting covered for 20 minutes. And after 16minutes of baking, take a stick of butter and run it over the tops of 'em (the girls talked me into doing some cinnamon rolls...yes they were killer.) Now...stick the Rhodes rolls back in the freezer - these babies take 2.5 hours from start to finish (that's less than the Rhodes ladies :)
Roll Recipe:
In small bowl put ½ cup of very warm water and 1 tsp. sugar. Mix water and sugar together. Sprinkle 2 Tablespoons of yeast (I prefer fast-acting). Get all the yeast wet.
Let Rise.
In mixer, Mix Together:
1 ½ cubes melted butter
1 1/3 cup hot water
½ cup sugar
2 tsp. salt
2 eggs
3 cups flour (this recipe uses 5 3/4 cups of flour – other cups added later)
Mix on low for a few minutes or knead. When the yeast has risen add it to mixture.
Add 2 ½ cups of flour.
Mix on low for 10 mins. (Wipe sides)
Let it raise for at least 10-20 minutes.
Sprinkle flour on counter and put flour on hands - grab 1/2 of the dough and Roll out. Cut with biscuit cutter or cup. Fold one side then another.
**Preheat oven to 350.
**Preheat oven to 350.
Place on large cookie sheet. Cover with cloth and let rise about 20 minutes.
Bake at 350 for 15-20 mins.
Bake at 350 for 15-20 mins.
Please post your success stories!!
6 comments:
Awesome. I love your posts. Love 'em, love 'em. Incidentally, our roll recipes are similar. I shape mine by cutting with the lid of a mason jar, dipping half of that circle in butter then folding it onto the cookie sheet. Yum.
Enjoy those rolls for me will ya? I'll be having curry. Or bryani. Or saag aloo.
Darn it! I have slacked in my blog reading and totally missed it! Thanks for posting the recipe. We won't be around for Thanksgiving, but I will try it another day.
Those look delish! I could never figure out why mine didn't turn out as good as my moms. Guess what, too much flour! Just say no to the flour!:) Using "especially for bread" flour helps too!
I was a habitual over-flour-er. Thanks to your words of wisdom, Megan, my Thanksgiving rolls turned out awesome. My family was impressed. Actually, I think JC was even impressed, but he'll never admit it.
I'm going to have to try these. I've spent the last 5 years perfecting my mother's but they take at least 3 but more like 4 hours from start to finish so 2 1/2 sounds great!
They were so yummy and when I got home and tried it, it was so close to yours! I've made them twice since, and they're getting better! Thanks!
Post a Comment